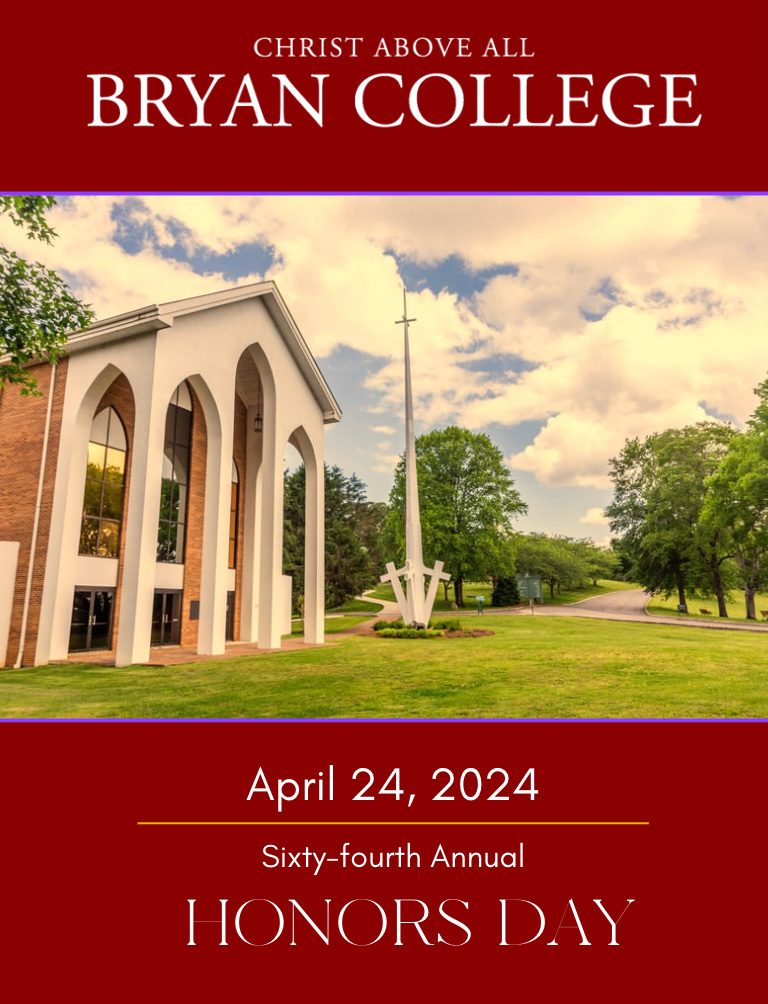
April 24, 2024
For over 60 years, the academic year at Bryan College has come to an end with an Honor’s Day where…
Continue Reading
March 19, 2024

March 12, 2024
February 2, 2024
January 24, 2024

January 17, 2024
January 16, 2024
May 3 – 4, 2024 Golden Grads often express, “Had I known it would be this enjoyable and unforgettable, I would have ensured all my… May 4, 2024 | 9:30 am COMMENCEMENT DAY SCHEDULE Saturday, May 4, 2024 (Triangle Lawn on Bryan Hill) 7:30 a.m. Check in- Mercer 2nd floor Lobby 8:00… June 9 – 15, 2024 Bryan College Theatre Intensive Camp Theatre Intensive Camp is a week-long summer immersion program for high school students interested in… July 14 – 20, 2024 Summer Institute 2024 July 14-20, 2024 The Summer Institute is a week-long summer immersion program for high school students. During… October 22 – November 2, 2024 Join Bryan College as we travel in the footsteps of Paul the Apostle to The Best of Greece and The…Featured EventsEvents
More Events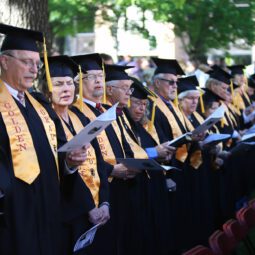
Class of 1974 50th Golden Grad Celebration

Graduation
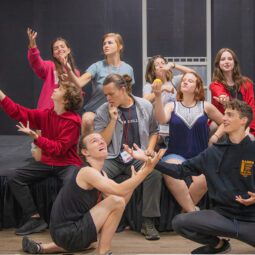
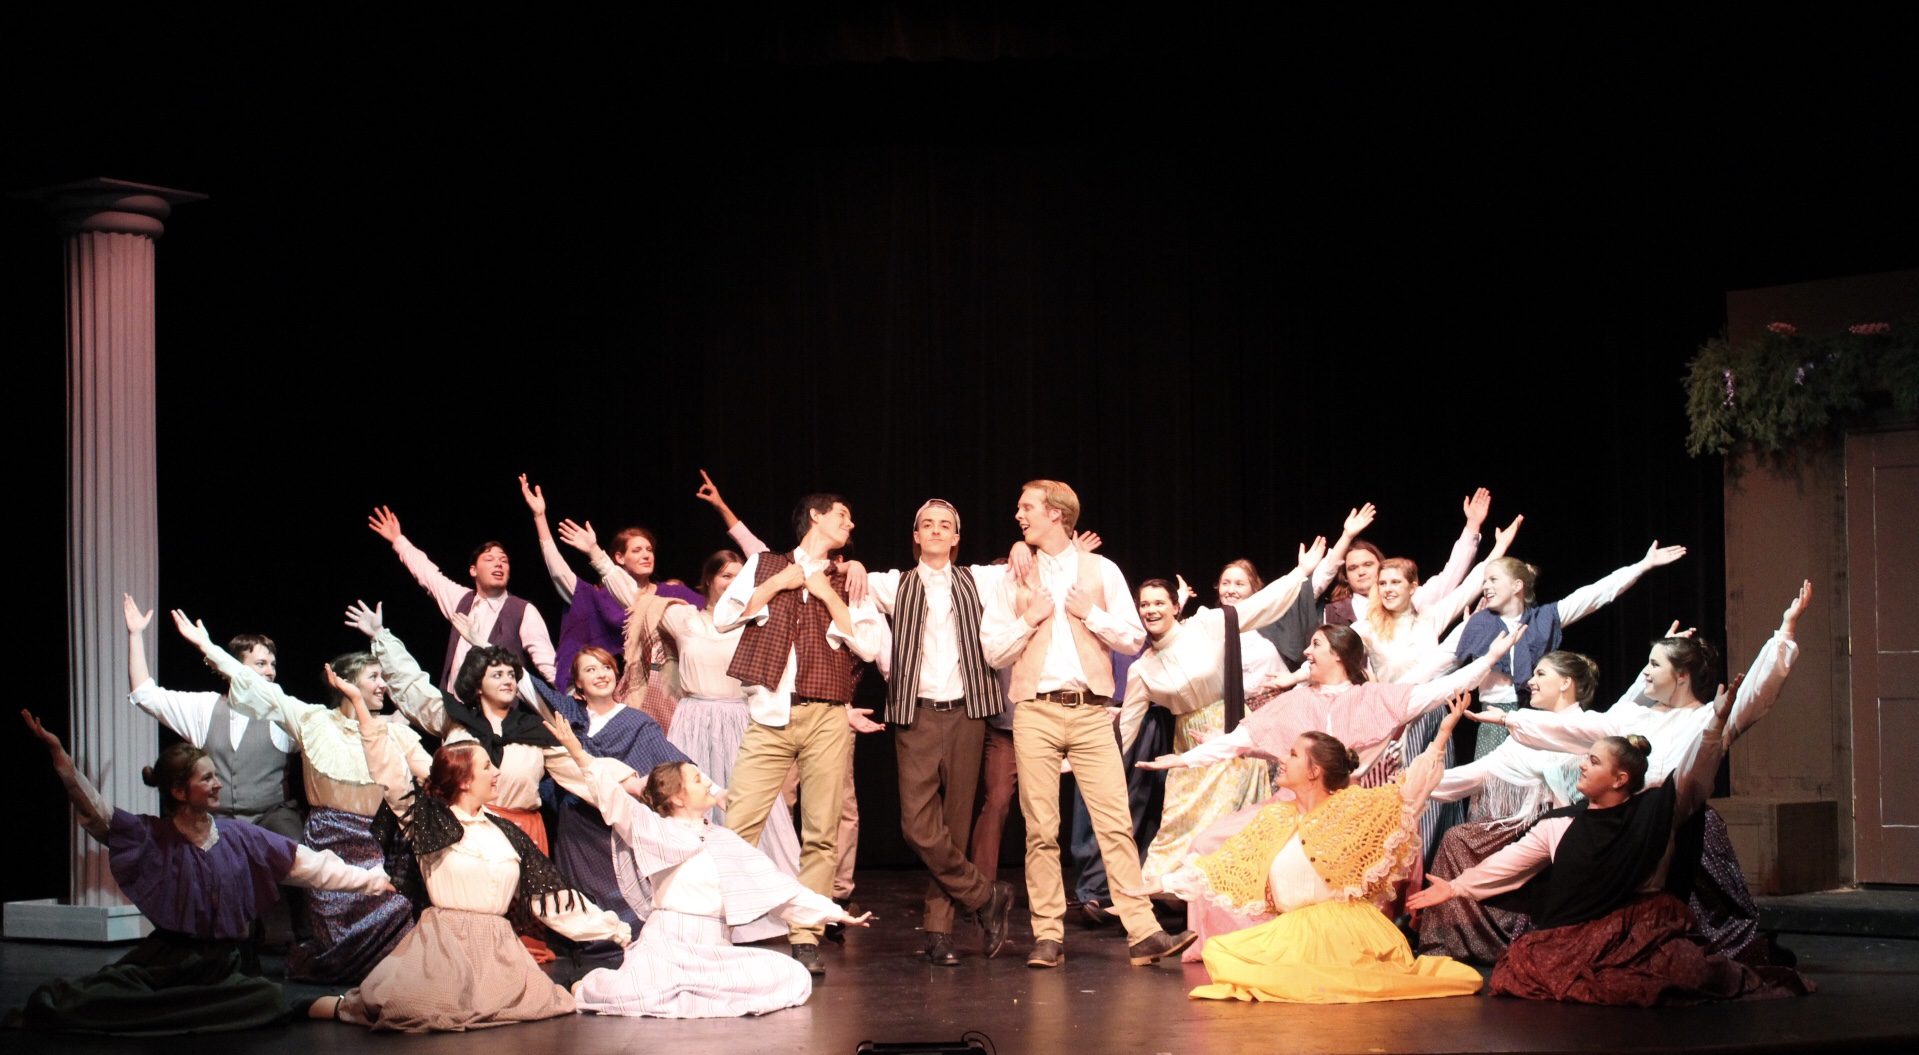
Theatre Intensive Camp
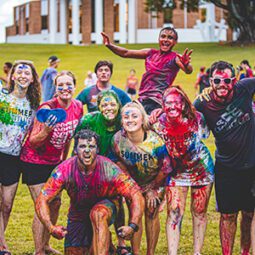
Summer Institute 2024

Greece Trip